
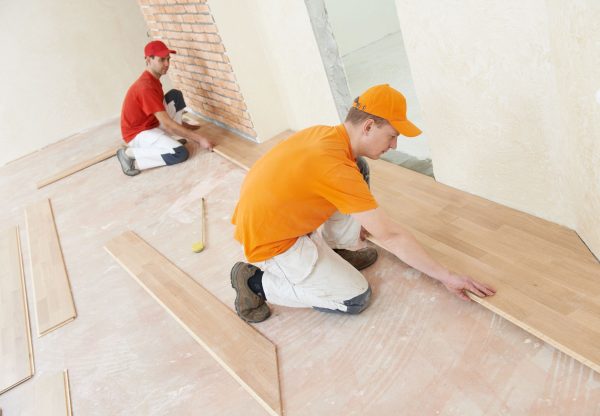
Installing new tile flooring is one of the most effective ways to enhance a home’s beauty, durability, and value. Many homeowners in Liberty, Missouri, search for practical guidance to make their flooring projects a success. If you’ve ever entered “Tile Flooring Installation Liberty MO” into your favorite search engine, you’re likely looking for reliable, step-by-step advice to keep your installation straightforward and professional. If you’re ready to tackle this rewarding project, this comprehensive guide outlines each phase of the process, from preparation to finishing touches.
1. Preparing for Tile Installation
Successful tile flooring begins with meticulous preparation. Start by clearing the room of all furniture and appliances. Remove any existing flooring material, whether it’s carpet, laminate, or old tile. Examine the subfloor for damage or unevenness; repair cracks, fill holes, and ensure the surface is flat and clean. If the subfloor is concrete, sweep and mop to remove dust and debris. For wooden subfloors, ensure rigidity to prevent tile cracking.
Moisture is another important consideration. Use a moisture barrier where necessary, especially in basements or bathrooms. Gather the essential tools: a notched trowel, tile cutter or wet saw, spacers, a level, a rubber mallet, a grout float, and a bucket for mixing adhesives.
2. Planning Your Tile Layout
Proper planning minimizes waste and ensures a symmetrical, visually pleasing result. Begin by measuring the room and marking the center point. Snap chalk lines to form a cross at the room’s center—this is your starting guide. Lay out a dry run of tiles along these lines, using spacers to simulate grout lines. This allows you to visualize the pattern and adjust as needed to avoid small, awkward tile cuts along the edges.
Consider the direction of your tile pattern. For rectangular tiles, running them perpendicular to the main entrance often makes the room feel longer. Always check for manufacturer-recommended layouts, especially if using patterned or wood-look tiles.
3. Mixing and Applying Thin-Set Mortar
Mix thin-set mortar according to the manufacturer’s instructions, aiming for a peanut butter-like consistency. Starting at the center of your layout, use the notched trowel to spread mortar over a small section of the subfloor—only as much as you can tile in about 15 minutes. Comb the mortar with the notched side to create ridges and ensure proper adhesion.
Press the first tile into place, gently twisting it to set. Insert spacers between tiles for uniform grout lines. Continue laying tiles, working outwards from the center and checking alignment regularly with a level. Wipe away excess mortar on the surface or between tiles before it dries.
4. Cutting Tiles for Edges and Corners
Edge and corner tiles require precise cuts. Measure the space, allowing for grout lines, and mark the tile with a pencil. Use a tile cutter for straight cuts or a wet saw for curves and intricate shapes. Wear safety goggles and gloves when cutting tiles. Set cut tiles in place, ensuring they fit snugly without forcing them.
5. Allowing Tiles to Set
Once all tiles are laid, allow the mortar to cure for at least 24 hours. Avoid stepping on the tiles during this period. Remove spacers only after the mortar has fully set.
6. Grouting the Tile Floor
Mix grout according to package guidelines. Using a grout float, spread grout diagonally across the tiles, pressing it into the joints. Remove excess grout from the tile surfaces with the edge of the float. Wait about 15-30 minutes, then wipe the tiles with a damp sponge to remove grout haze, rinsing frequently. Allow the grout to cure as recommended, typically 24-72 hours.
7. Sealing and Final Touches
After the grout has fully cured, apply a grout sealer to protect against stains and moisture. Clean the tiles thoroughly to remove any remaining haze or debris. Reinstall baseboards and transition strips to complete the professional look.
Regular maintenance, such as sweeping and damp mopping, will help preserve your new tile floor’s appearance for years. Avoid harsh chemicals that could damage the grout or tile surface.
Practical Tips for Success
-
Double-check all measurements before cutting tiles.
-
Work in small sections to keep the mortar from drying out.
-
Keep extra tiles for future repairs.
-
Use knee pads to protect your joints during installation.
-
Ventilate the room when using adhesives or grout.
With careful preparation and attention to detail, installing tile flooring in Liberty, MO, can be a satisfying DIY project that enhances your living space.
For those seeking a reliable flooring solution, Big Bob’s Flooring Outlet stands out as a trusted partner in the Liberty, MO area, offering expert guidance and quality products to help ensure every installation succeeds.